Tuesday, June 25, 2013

Pipping Soap Poppy Flower

Soaping is very much like cooking, to be more specific, very much like baking.  Whatever you can pipe onto a cake for decoration it can be done in cold process soap also.  I'm not much of a baker, why make it myself when I can just buy all kind of yummy treats out there easily?!  I confess, my very first pipping experience is not for food, it's for soap... that's serious soaping addiction, LOL.
Pipping cupcakes is actually pretty easy as long as you get the thickness of soap batter under control.  Pipping flowers is a totally different story.  All the youtube clips on pipping flowers make it look so easy and effortless.
These are my first pipped flower, they are supposed to be poppies but... oh well, good enough, LOL
It was no piece of cake for me!  I had to pipe it again and again, scrap the failed ones, throw it back into the bag, do it again until it looked decent.  The last 2 flower petals started to crack all over the place because the soap batter had gotten way too thick and dry for pipping.

Oh well, next time will be better I tell myself!  Hey, at least they look like flower!
If you want to give this a try, take a look at this video first: 
Thank you Kim from Alamo Candelaria for showing us how to pipe poppy flower!!

Tuesday, June 18, 2013

Second Trial Live Video Soap Session

Still not perfect, but huge improvement from 1st trial!
Thanks for all 5 volunteered participants for helping me take a step forward towards the determination of this exciting future "class" offering!  I can finally see the light at the end of the dark tunnel.  To read my 1st trial blog post click: First Trial Live Video Soap Session
I studied the mistakes I made from 1st trial and made a couple significant changes to this round:
  • Definitely set a specific color scheme per class (unlike the 1st time, inexperienced me let everyone chose their own color scheme).
  • Demonstration by me before letting all participants start
I got great feedback this round, everyone had a great time to the point we kept on chatting soap related subjects after class that we just couldn't stop!  Here are some soap photos from this soaping session:

My pre made Melon Spritzer Soap to show participants the color scheme:

This is soap by Nicole Sullivan from Lather & Love Bath & Body Creations
Nicole uses natural colorants only so her colors look different from the rest but shows you how natural colors can make eye catching design too.

This one is made by Barbara Wilde from Wildevines Soapery

Next one is made by Angie Cavaiuolo from Handmade Natural Beauty

Last but not least, soap made by Pamela Leis from By The Sea Soap

I think I will host a 3rd round of trial then I can be ready to offer it as a "class" for real!  Super excited!

Tuesday, June 11, 2013

Bee's Wax in Soap

I don't remember when was the last time I tried adding a small percentage of bee's wax in soap, probably ages ago.  I totally forgot the reason why I ditched this ingredient, more curious why I want to give it another try.
Well, I think that jugged my old memory!  Bee's wax is very hard, it requires high temperature to melt it and stay liquid.  That is why it's being used for lip balm to maintain shape even in hot summer.  It is the same reason soapers use a small percentage in making soap, to harden and lengthen the use in shower.  Wax, any kind, is not saponifiable, meaning it would not react with sodium hydroxide (lye) like other oil and butters, it stays wax even in cold process soap, it's the reason why only a very small amount should be used or soap would start to lose lathering power.
I usually soap very cool temperature, it gives me more time to play with design as I'm slow, takes me forever and a day to finish a batch!  Well, with oil butter temperature so low it would not be able to keep bee's wax liquid.  I thought I was being a smart ass to melt bee's wax separately and pour into the soap when the batter is about thin trace.
WRONG!!!
Hot liquid bee's wax riced on me the second it hit the batter!  I had to stick blend the heck out of the pot trying to smooth it out.  I did my best, even trying to filter the bits out by running it through a mesh.  The batter got too thick it just won't go through the straining mesh 1/3 through the way.  I hurried up and added the color and FO and into the mold it went.  You can still see the tiny white translucent speckles if you look closely.  I can smell the sweetness of the bee's wax faintly through the soap.  But no way am I going to try using bee's wax in soap ever again!  I don't care how good it is, it's not going into the soap.  This is it, the very very limited batch!

Thursday, June 6, 2013

Reinventing Old Techniques with New Combination

I have to say, it's pretty hard to invent a new technique in soaping style, that doesn't mean you should just do same old same old over and over again.  If you want, combine 2 or more techniques together in one soap will bring the boring soap back to live!
Here are my recent soap mini obsession: layering + tiger stripe (or ITP swirl) + balls (yes, how can I skip that?!)

 Bubble Gum (essential oil blend)

Love Potion

Now what's your reinvention of combining old styles?!

Tuesday, May 28, 2013

Tiger Stripe You Wore Me Out!

Recently there's a soap style trend circulating across the whole community, the tiger stripe style.  It is done by pouring alternating color layers gazillion times on top of each other to form the striping effect like what you see on a tiger, or zebra.  It is a very time consuming process therefore the soap batter has to stay thin trace for quit some time.  Have that in mind I had to carefully select my recipe and fragrance combination, it is not easy I can tell you that.  I've only done 2 so far and this style of soap totally wore me out!  I counted, I poured at least 55 times in that Love Spell soap!  Yes you read it correctly, 55 TIMES!!!  If you don't believe me, go count it yourself, LOL.

Love Spell Soap

Coconut Lime Verbena Soap
I mean I agree soap comes out mesmerizing but... no way I'm doing another one, I must gone crazy if I do again!

Tuesday, May 21, 2013

First Trial Live Video Soaping Session

About a month ago I announced the decision on my Facebook page to run a trial for the potential offering on live video style soaping session hosted by me.  I figured, there's no point talking about it over and over, just put it into action and see what happens, it's called trial and error!
Thanks to all 5 volunteered participants!  We did it using free Google Hangout, not without glitches but no major failure either.  Here are some photos from the session:

LeeAnn Atwood from Dairy-Aire Craft & Gifts

Louise Vargas from SoGa Soap & CupFakery

Deborah Jones from Peculiar People (UK) 

I pre-made a demo log before the session to show:

Then I made one during the session:

Thanks to this first trial I got to experience what it's like live on teleconference style soaping.  There's a lot to improve in terms of session sequencing and most importantly, the hosting media.  For sure 2nd or even 3rd trial is needed.  If you are interested in volunteering, have a look out at my Facebook page, I will announce it when I'm ready.

Don't you want to learn more about how to make multi-color layering (gradient) soap?  There are so much more I can offer.  Be on a look out in the very near future!

Monday, May 13, 2013

My Twist to Elemental Swirl

The first time I heard about this swirl is from Otion Soap Blog, see their original post: Elemental Swirl
This is basically doing ITP (in the pot) swirl 2 times with 2 different color schemes, separately.  Usually it is done with one ITP, pencil line on top, then pour the 2nd ITP on pencil line without breaking it.
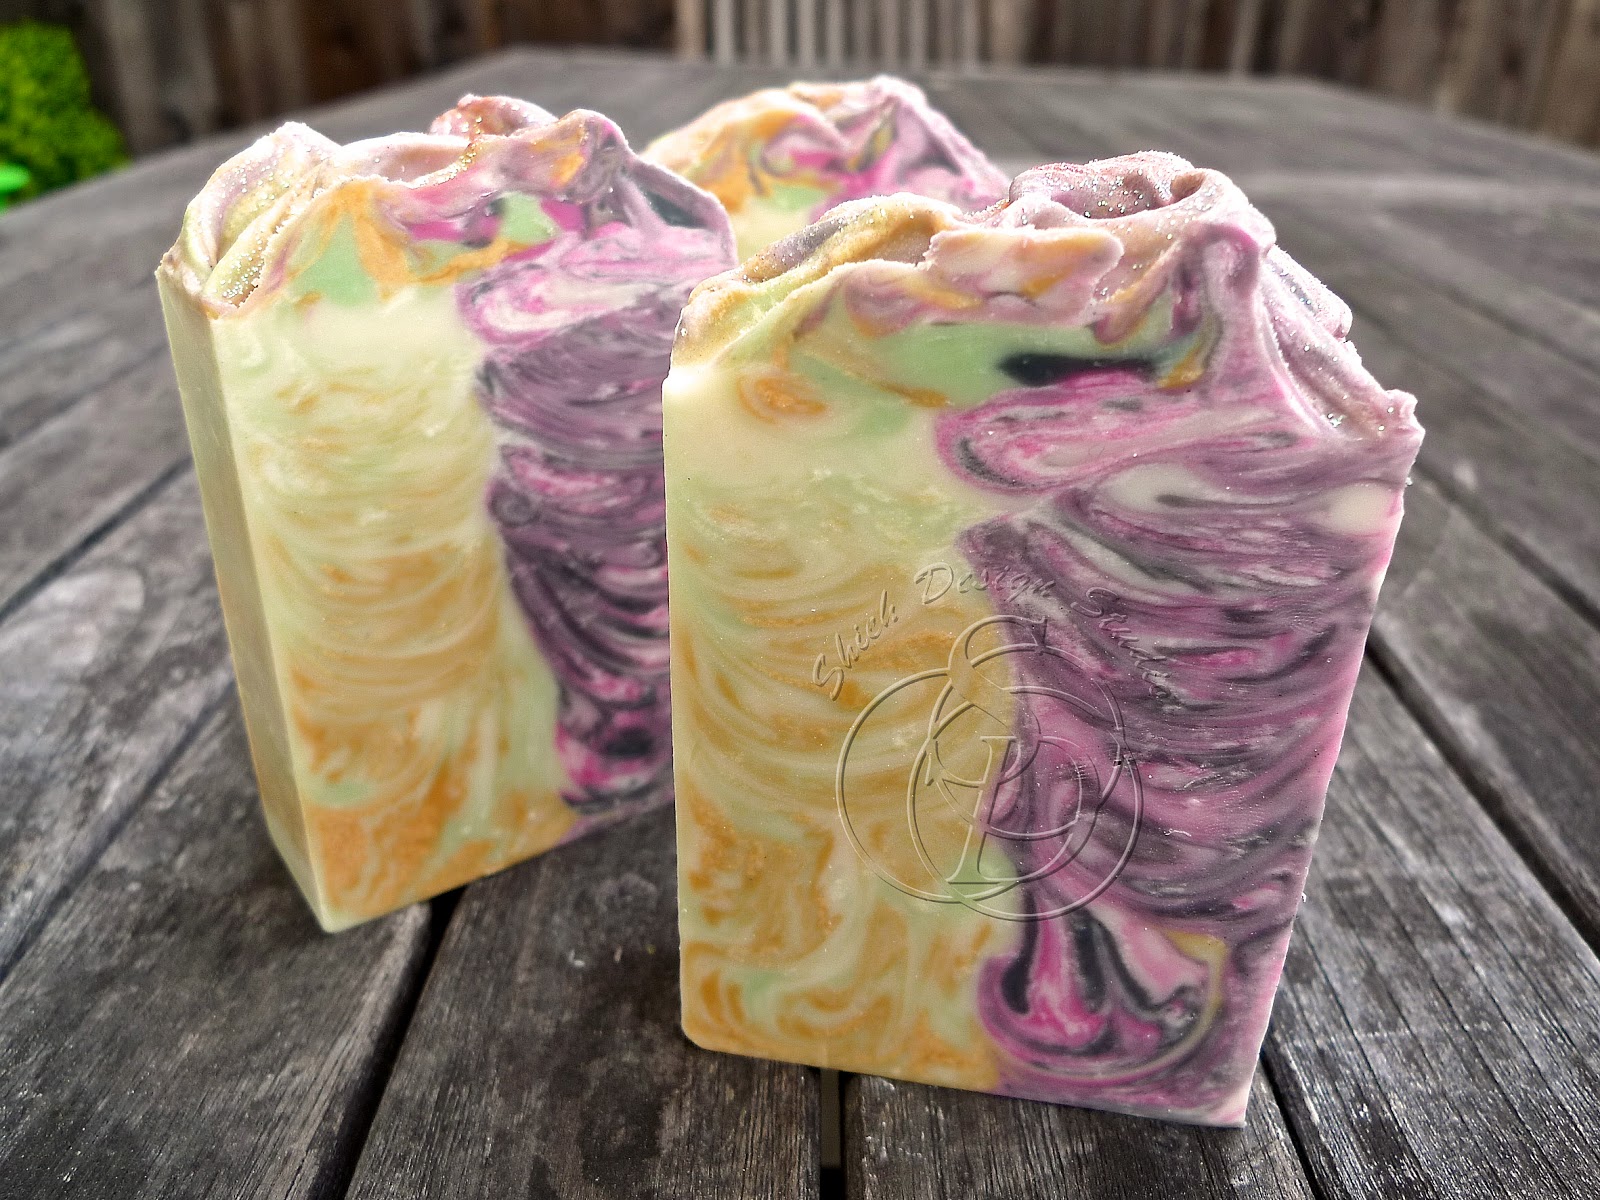
My problem is, to do ITP my soap batter has to be relatively thin to medium or else colors don't swirl within.  But to ITP first then pencil line before the 2nd ITP will make my later one too thick to pour.  Why?  I'm slow and annal... it would take me time to do my perfect pencil line and clean up all sides before the 2nd ITP pour.  My typical restless mind started to roll, is there a reason why I can't pour both ITP at the same time?!  What's stopping me?!  Is pencil line really important in this case that I cannot live without?!  What's the purpose of the pencil line?  To separate the 2 ITP, to prevent the 2nd ITP to break and mix with the 1st ITP.  But, if I pour my both ITP at the same time simultaneously side by side, they should be able to hold each other's territory without help from pencil line.

Here it is, Sandalwood Rose
(This is by no mean the typical sandalwood rose, it's my own blend.  This is sandalwood without sharp camphor note, sweeter with a powdery finish, plus a none typical rose, I used Alaskan wild Denali rose instead.)  If you are interested you can get a bar here: Buy Sandalwood Rose Soap


And no, I did not use a divider!

ShareThis